Tracing has the advantage of being fast, but it also has a chance of rubbing off before you finish the embroidery. My favourite reliable method of transferring embroidery is as follows:
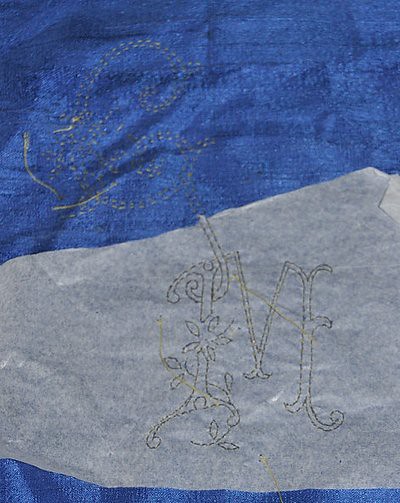
Step One - trace the pattern onto tissue paper. (This is the first time I've used tissue - in the past I've just used lunch paper. The tissue paper is definitely easier to remove in the last step though).
Step Two - pin onto the fabric, ideally with it held taut. Tack along the lines with sewing cotton, using a colour you can see. On straight lines you can use long stitches, shorter on curves.
Step Three - when you're done tacking, tear the paper off. This is where tissue paper is great - I found that it tore along the stitch lines much more easily than the heavier lunch paper.
Here's a photo showing halfway through removing the paper. It's a little hard to see the stitching (yellow on blue), but that's mostly because it's winter and the lighting is terrible. (Maybe I'll try this again in summer...)

After removing the paper you're ready to stitch. I'm picking the tacking stitches out as I go, but this will depend what sort of stitches you're doing. Because this is fine, I didn't want to be trying to pick out stitches that I couldn't really see when I'd probably stitched through the thread a zillion times.
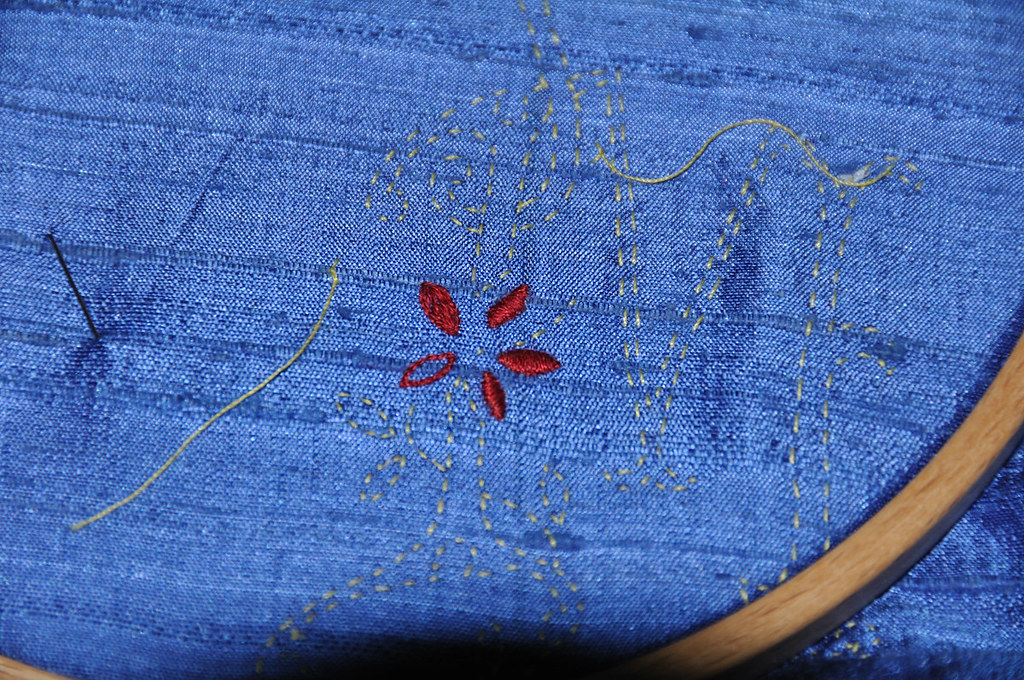
The petals and leaves are done in satin stitch. First step is outlining in split stitch, then filling the middle with some longitudinal stitches, then the final pass of satin stitching.
This photo shows the three stages:

The three petals on the right are complete. The top left is outlined and filled, ready for the satin stitch, and the bottom left is just outlined.
I found that with the red I could do the satin stitch on 3 petals before the thread started looking a bit fuzzy, but I could only do 2 leaves with the green. I'm not sure if this is related to the dye, the age of the thread (both unknown), or something else.
At this point I have done both flowers, and the 6 leaves on the G. Still 5 leaves on the M left to go.
I intend to do the split stitch on the letters next, then see how I'm going for time. If I've got plenty of time then I'll satin stitch the letters too (and outline in gold), otherwise I'll leave them as a split stitch outline. The centre of the flowers, and the buds will be small pearls, and for the stems I intend to use gold thread couched with green.
No comments:
Post a Comment